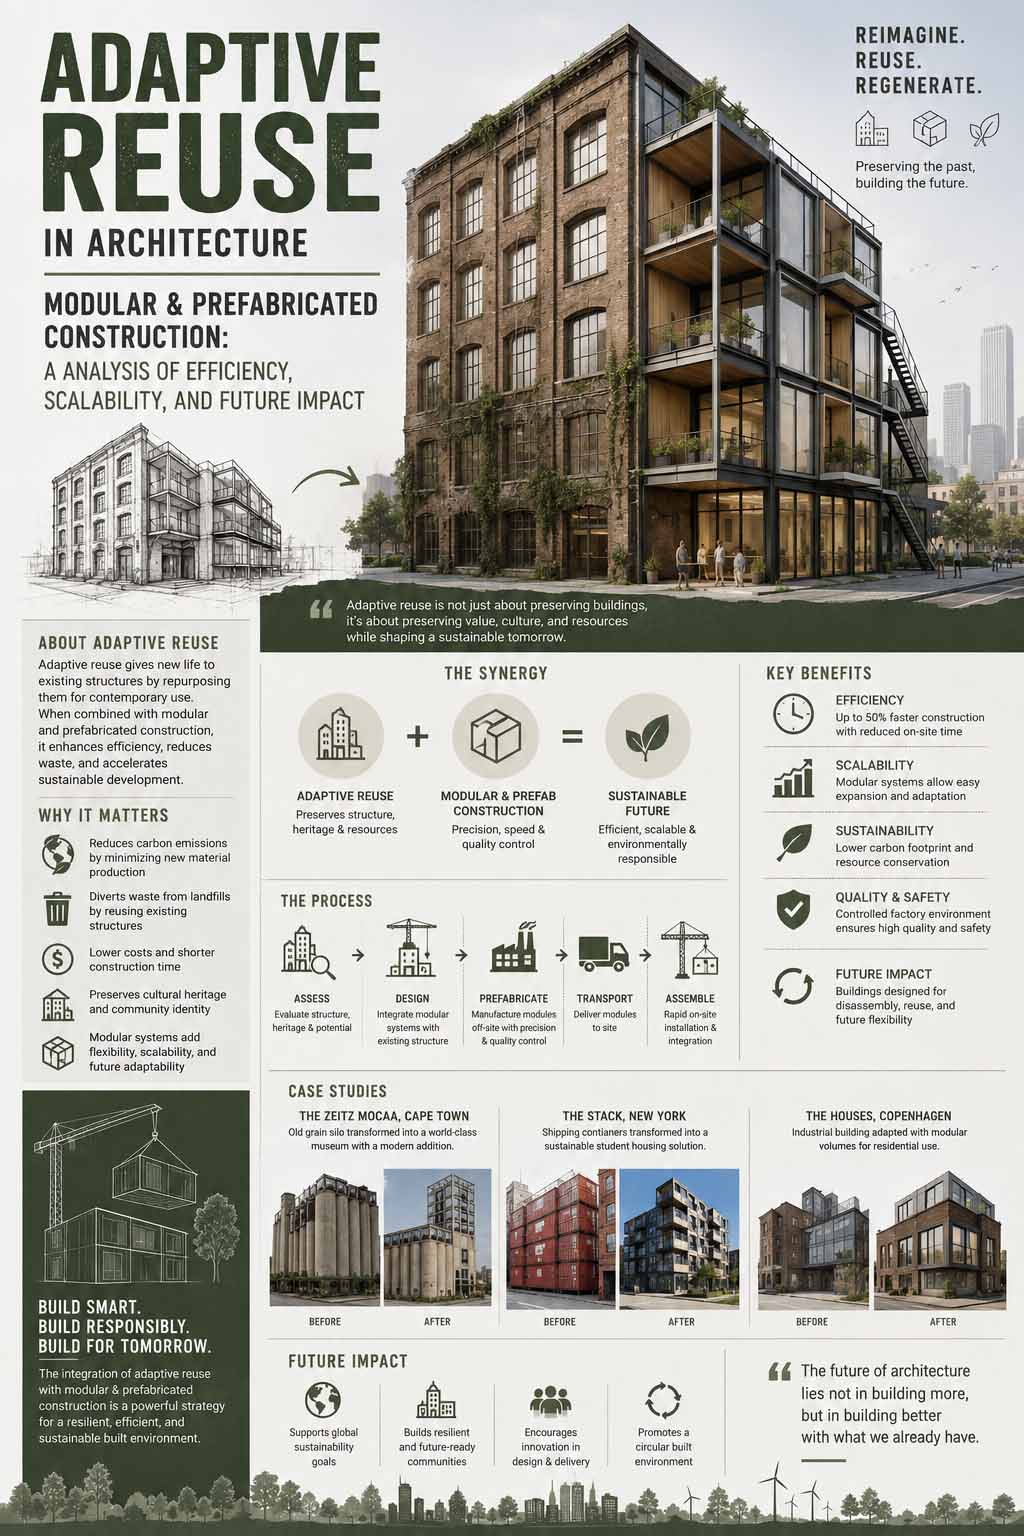
Google Nano Banana has become a popular AI image-generation and editing tool for creating photorealistic architectural renders from sketches, 3D models, reference images, and design concepts. For architects, interior designers, visualization artists, and students, AI-assisted rendering can significantly speed up the transition from a basic architectural concept to a realistic presentation.
What Is Google Nano Banana?
Nano Banana is the popular name associated with Google’s advanced AI image-generation and image-editing capabilities. It can help transform architectural images by improving materials, lighting, landscaping, atmosphere, furniture, and visual realism while preserving important elements of the original design.
For architects, one of its key applications is converting a basic SketchUp screenshot, 3D model, CAD view, or architectural massing image into a photorealistic architectural visualization.
How to Create Photorealistic Architectural Renders
The quality of an AI architectural render depends heavily on the reference image and the prompt. A useful workflow is:
1. Upload Your Architectural Reference
Start with a clear image of your building, such as a SketchUp model, Revit view, Rhino model, CAD elevation, or existing architectural render. A clean reference helps the AI understand the building’s geometry and proportions.
2. Write a Detailed Architectural Prompt
Describe the desired materials, lighting, camera angle, landscaping, sky, surroundings, and atmosphere.
For example:
Create an ultra-realistic architectural visualization of this building. Preserve the exact geometry, proportions, openings and facade design. Use realistic concrete, glass and stone materials, soft natural daylight, detailed landscaping, realistic shadows, professional architectural photography and cinematic lighting.
3. Preserve the Design Geometry
For architectural projects, clearly instruct the AI not to change the building geometry. This is particularly important when the image will be used for client presentations or design development.
Useful instructions include:
- Preserve the exact building geometry
- Do not change floor heights
- Do not alter windows or doors
- Maintain the original facade composition
- Keep the same camera angle
- Do not add or remove architectural elements
4. Improve Materials and Lighting
AI can be used to enhance photorealistic materials, including concrete, stone, brick, wood, metal, glass and ACP/HPL panels. Lighting can also dramatically improve architectural visualization.
Try specifying:
- Golden-hour sunlight
- Soft daylight
- Cinematic architectural lighting
- Realistic reflections
- Physically accurate shadows
- Interior lighting visible through windows
- Atmospheric depth
5. Add Realistic Architectural Context
A convincing architectural render needs more than a realistic building. Add landscape design, vegetation, people, vehicles, streets, furniture and surrounding buildings where appropriate.
These elements help establish scale and make the image feel like a professional architectural photograph.
Best Prompt Structure for Architectural AI Rendering
A simple prompt formula is:
Building + Geometry + Materials + Lighting + Environment + Camera + Photorealism
For example:
“Photorealistic architectural render of a contemporary hotel building, preserve the exact geometry and facade proportions, realistic stone and glass materials, warm interior lighting, landscaped foreground, mature trees, subtle human activity, cinematic evening sunlight, realistic reflections, professional architectural photography, high detail, natural colors, 8K visualization.”
Why Architects Are Using AI Rendering
AI architectural visualization can reduce the time required to produce multiple design options. Instead of creating every variation manually, architects can quickly explore different:
- Facade materials
- Landscape concepts
- Lighting conditions
- Interior styles
- Building surroundings
- Day and night scenarios
- Architectural atmospheres
However, AI-generated images should be treated as visualization tools rather than substitutes for technical architectural drawings. Dimensions, structural systems, construction details and building-code information should always be verified separately.
Google Nano Banana: Step-by-Step Process for Creating Photorealistic Architectural Renders
| Step | Process | What to Do | Key Prompt / Instruction |
|---|---|---|---|
| 1 | Prepare 3D Model | Create or finalize your building model in SketchUp, Revit, Rhino, 3ds Max or similar software. | Ensure the model has accurate geometry and proportions. |
| 2 | Set Camera View | Choose the desired architectural perspective and composition. | Maintain the same camera angle throughout the process. |
| 3 | Export Reference Image | Export a high-resolution screenshot, clay render or basic render of the building. | Use a clean, sharp image with minimal visual clutter. |
| 4 | Upload to Nano Banana | Upload the architectural reference image to Google Nano Banana. | Use the original architectural image as the primary reference. |
| 5 | Lock Building Geometry | Clearly instruct AI not to modify the architecture. | “Preserve the exact geometry, proportions, floor heights, windows, doors and facade. Do not redesign the building.” |
| 6 | Define Materials | Specify the desired facade and building materials. | Mention materials such as concrete, glass, stone, HPL, ACP, brick, timber or aluminium. |
| 7 | Define Lighting | Specify the time of day, sunlight direction and lighting quality. | Example: “Warm late-afternoon sunlight with realistic shadows and subtle backlighting.” |
| 8 | Add Landscape | Introduce realistic trees, plants, lawns, paving and landscape elements. | Keep landscaping proportional to the building and site. |
| 9 | Add People & Vehicles | Add people and vehicles to communicate scale and activity. | Request realistic proportions and natural positioning. |
| 10 | Define Camera & Photography | Specify architectural photography characteristics. | Example: “Professional architectural photography, 28mm lens, natural perspective, realistic depth of field.” |
| 11 | Generate First Render | Submit the reference image and complete prompt. | Focus the first generation on architecture, materials, lighting and environment. |
| 12 | Check Geometry | Compare the AI result with the original model. | Check windows, columns, balconies, floor heights, roof and facade elements. |
| 13 | Refine the Render | Make targeted changes instead of regenerating everything. | “Keep everything unchanged. Improve only the stone texture and glass reflections.” |
| 14 | Improve Environment | Refine landscaping, road, sky, people and surrounding context. | Make the environment realistic without distracting from the building. |
| 15 | Add Special Effects | Add effects such as sunset, haze, reflections or vehicle light trails if required. | Example: “Add subtle long-exposure vehicle light trails while keeping the building sharp.” |
| 16 | Create Multiple Views | Generate day, golden-hour, blue-hour and night versions. | Keep the building geometry and camera position consistent. |
| 17 | Final Quality Check | Inspect the image for AI-generated errors. | Check distorted windows, people, vehicles, shadows, reflections and materials. |
| 18 | Upscale & Export | Prepare the final image for presentation or publication. | Export at the required resolution and retain the original architectural model separately. |
Recommended Workflow
3D Model → Camera Setup → Reference Image → Upload → Lock Geometry → Materials → Lighting → Landscape → People & Vehicles → Generate → Check → Refine → Finalize → Upscale → Export
Most Important Prompt Rule
For architectural visualization, always begin by protecting the design:
“Preserve the exact architectural geometry and proportions. Do not change, add, remove or redesign any building element.”
This helps maintain the relationship between the original architectural design and the AI-generated photorealistic render.